I was approached about a week ago to do a commission piece and decided to finally go for it. Up until now, I didn't have the confidence to sell my work until I realized how many times people were asking me about where they could buy my things. I'm still researching the best way to set up a "shop", so please stay tuned. I'm in no hurry on this and want to do the most prep I can before I jump into this exciting next step so please bear with me. :D
The buyer's request was a bracelet for a friend that reflected her faith, interests and tastes. Our wearer loves nature, being outdoors and the water. I decided to do a beach-inspired charm bracelet with resin shell pendants in a subtle and beautiful sea green, sand, white and silver.
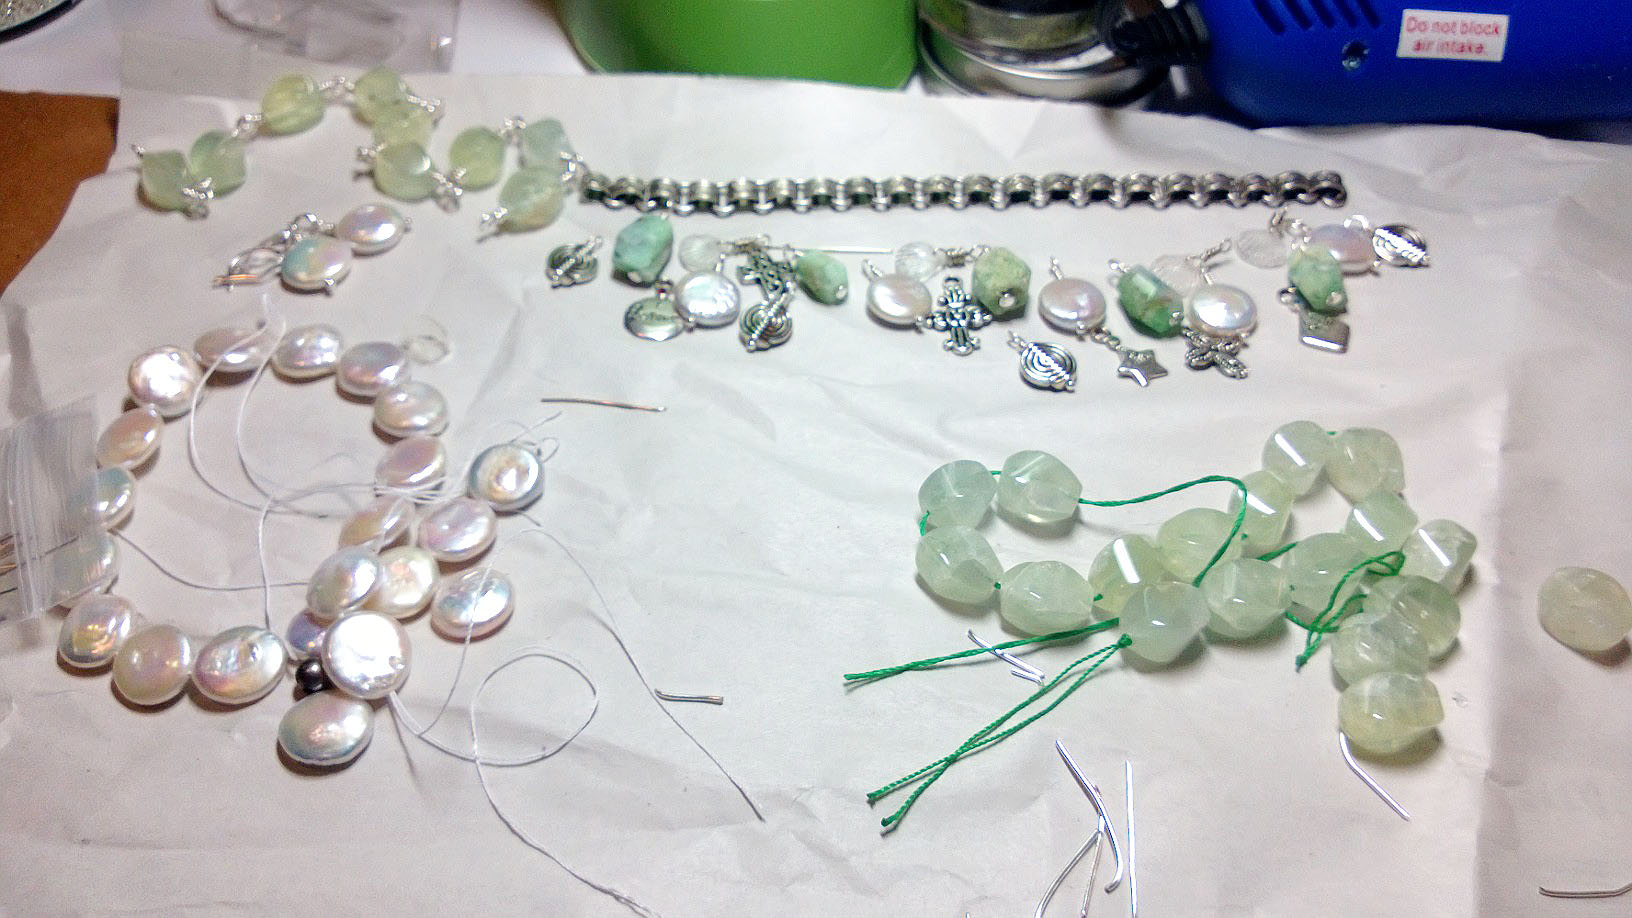
My first step was selecting the items for the bracelet. I had most things in my workshop to get started, (I needed crosses and water symbol (the swirly coil design) to complete the charms):
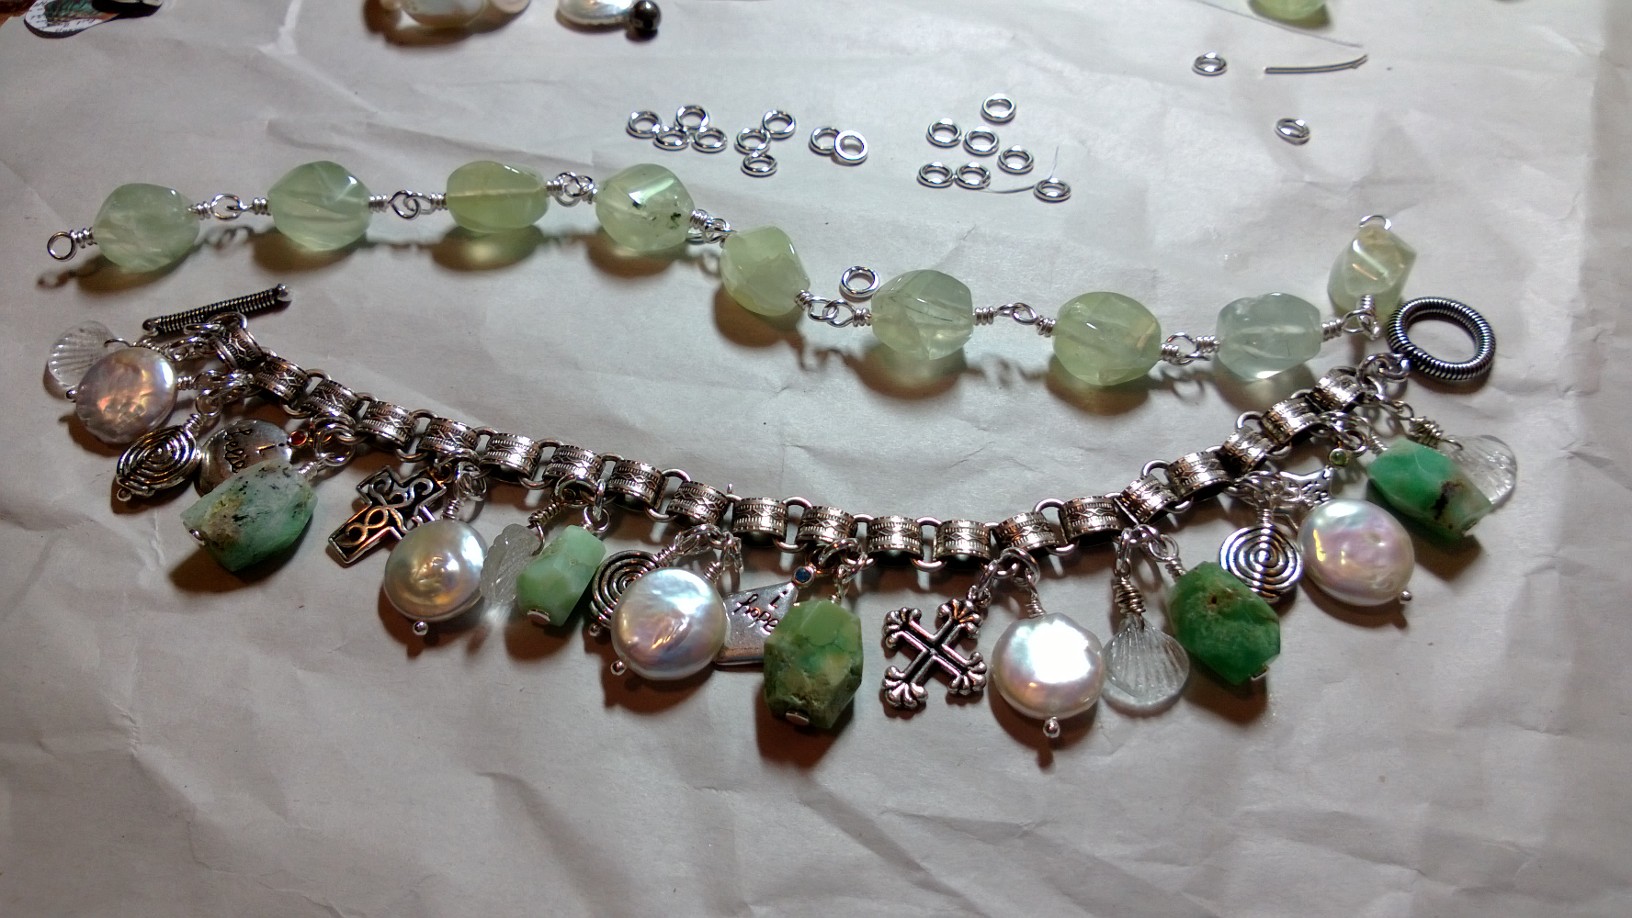
Next step was to wire wrap the individual charms and work with placement.
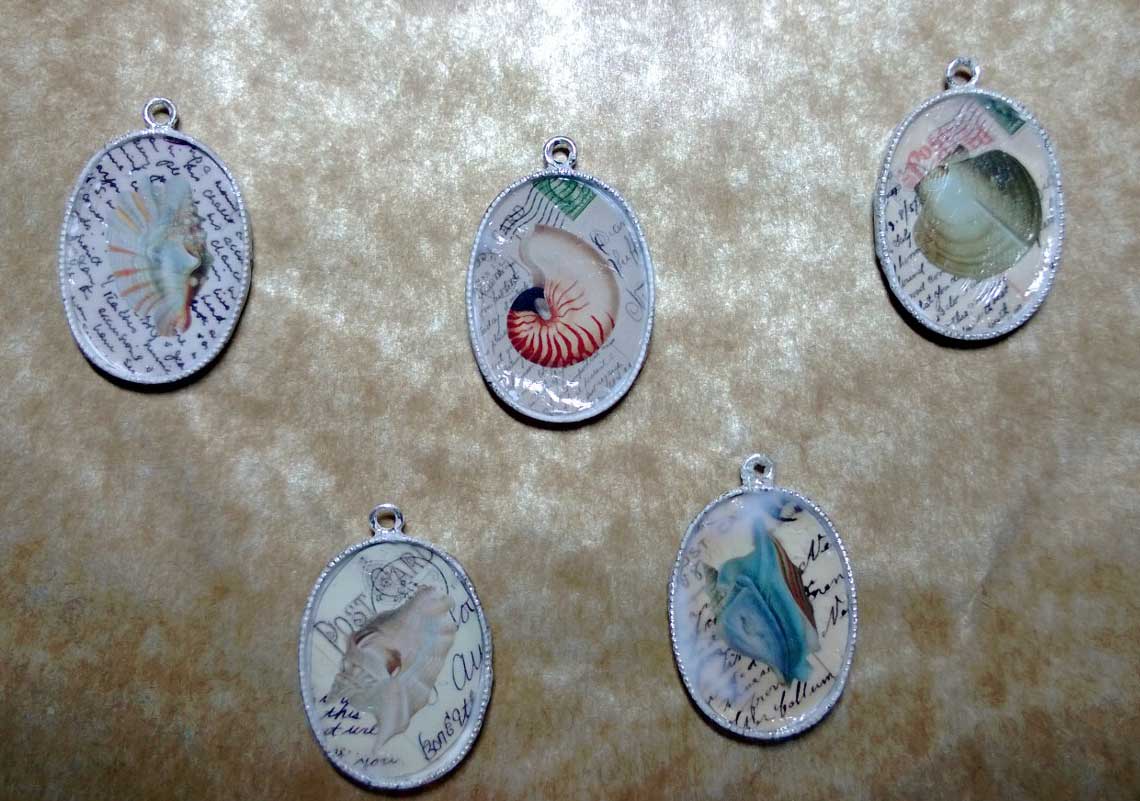
The charms/construction are one component of this project. The other key piece of this design are the shell resin pendants. I used a new product called Iced Enamels to do a cold enamel treatment on the back of the oval bezels. This is a new product from the creators of Ice Resin and my head is reeling with the design possibilities.
There are helpful videos starting here on how you use Iced Enamels and I took a few pics to show my progress. I decided to go simple for this first try for two reasons: first - new technique - didn't want to get in over my head; second - the Relique Ivory color and sandy texture was a perfect compliment to this design.
After the color has been applied, a coat of resin is applied to protect the color and gives the surface a glassy finish. Gorgeous!
After the resin had thoroughly dried, I was now able to decoupage the shell images into the bezels. After that was thoroughly dried, I did my final resin pour.
So now with all the pieces and parts completed, we now have a completed convertible charm bracelet/necklace! Check it out!
I hope the recipient has lots of fun with this piece. I had a blast making it and will definitely be using Iced Enamels for future projects! Thanks for reading, y'all! xoxo


